 Add Row
  Add
Add 


Keeping Your Air Fryer Sparkling Clean: A How-To Guide
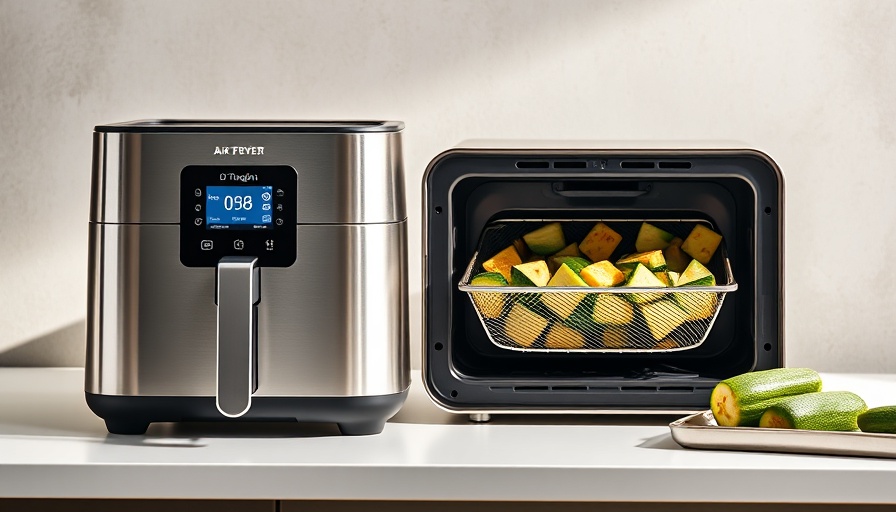
Air fryers have revolutionized the way we cook, effortlessly delivering crispy delights with minimal oil. However, many users overlook a critical aspect of this kitchen marvel: maintenance. Just like any kitchen appliance, air fryers accumulate grease and grime over time, impacting their performance and longevity. In this guide, we'll delve into practical steps for effectively cleaning your air fryer, exploring both regular maintenance and deep-cleaning strategies.
Understanding the Importance of Regular Cleaning
Cleaning your air fryer after each use is not just good practice—it's essential. Food particles can cling to the surfaces, potentially leading to uneven cooking and harmful bacteria growth. As noted by various experts, neglected air fryers are more likely to harbor old food residue and germs. A dirty appliance can also hamper the air fryer’s efficiency, making it work harder and consume more energy to achieve the desired results. According to Cyrus Bedwyr, a cleaning expert, the air fryer should be cleaned regularly to ensure optimal performance and to safeguard your health.
Step-By-Step Cleaning Instructions
Here's an effective cleaning routine to keep your air fryer in tip-top shape:
- Cool and Unplug: Allow your air fryer to cool down for at least 30 minutes after use before attempting to clean it. This step reduces the risk of burns.
- Remove Parts: Take out the removable parts (baskets, trays) and wash them with warm, soapy water. If they are dishwasher-safe, feel free to use that option, but hand washing is preferable for nonstick surfaces.
- Wipe the Interior: Use a damp cloth to clean the interior of the air fryer. Avoid using harsh chemicals or abrasive sponges, which can damage the nonstick coating.
- Check the Heating Element: Inspect and gently wipe down the heating element using a soft cloth to clear away any grease that has accumulated. Be cautious not to dislodge any components.
- Exterior Shine: Wipe down the exterior using a damp cloth. Make sure no soap residue remains.
- Reassemble: Ensure all parts are completely dry before reassembling your air fryer.
These steps should be repeated after each use to maintain your appliance’s cleanliness and efficiency over time.
Deep-Cleaning: Extending the Life of Your Kitchen Companion
Deep cleaning is needed about once a month or sooner if you're cooking greasy foods regularly. Here’s how to perform a thorough clean:
- Unplug the air fryer and let it cool.
- All removable components should be soaked in warm, soapy water for 15 minutes to loosen any stubborn residues.
- Use a paste of baking soda and water for heavily soiled areas, scrubbing gently with a non-abrasive brush.
- Thoroughly dry all parts before putting your air fryer back together.
Don't forget to store your air fryer in a dust-free environment to avoid any new build-up!
What to Avoid When Cleaning
While cleaning your air fryer:
- Avoid using metal utensils or abrasive cleaners, as they can scratch and damage the nonstick coating.
- Never submerge the main unit in water—you risk damaging its electronic components.
- Don’t overlook the heating element, even if it appears clean! Grease can easily accumulate there.
Following these precautions will prolong the life of your air fryer and enhance your cooking experience.
Smart Tips for Maintenance
To make things even easier:
- Use air fryer liners or parchment paper when cooking to catch food drippings.
- A quick wipe down after each use can save time on deep cleans later.
- Prevent overloading the fryer basket, as this leads to excess residue.
By implementing these tips, you can enjoy the benefits of air frying without the hassle of tough clean-ups.
Final Thoughts
Maintaining an air fryer can be simple with the right practices. Regular cleaning not only ensures better performance but keeps your food safe and delicious. Embrace these cleaning strategies and keep your air fryer as your go-to kitchen companion.


 Add Row
  Add
Add 

Write A Comment